How to Pour a Small Concrete Slab
Simply drag a 2×4 screed board across the surface of the form to level the concrete, filling any low spots with additional concrete as necessary and repeating until your surface looks flat.
Mixing
Mixing concrete can be a physically draining endeavor. For optimal results, it is best to enlist help when mixing and pouring. Eighty-pound bags of concrete mix can cause back injuries if lifted too often, so take precaution when handling these heavy bags of cement mix.
Before pouring a slab, ensure the area is clear of debris and compact the soil. If it’s on a slope, grade it so water drains away from the new slab. Additionally, waterproof membrane may be useful if dampness enters your structure.
Pouring a small concrete house slabs Melbourne can be an enjoyable DIY project that’s suitable for shed foundations, patios and sidewalks. Key to its success lies in proper base preparation.
Choose an accessible location that is not too near existing structures for your concrete slab project. Mark its perimeter with stakes and string a level line across it, cutting side form boards 3″ longer than needed and nailing them to stakes using 16d duplex nails (two-headed nails). Mist your slab lightly each day using your garden hose so as to maintain moisture as it cures.
Preparation
If you’re creating a concrete slab as part of a foundation for a small structure like a barndominium or tiny home, the first step should be constructing a form or frame to hold back concrete once poured. A form is like an oversize box that will protect and contain your slab when filling is complete.
Once the perimeter has been established, use yellow striping spray paint to outline a rough shape for your slab. Be sure that this line aligns with any corner lines from nearby structures (such as your house).
Once the concrete has set and has become thumbprint hard, wait until all surface bleed water has fully evaporated before beginning final finishing work. At that point, final touches can begin.
Cure ‘N Seal is also recommended, to seal moisture into the concrete and prevent cracking if your slab will be exposed to frost. This step may prove especially important.
Forming
Before pouring concrete, the area where the slab or foundation will be constructed should be cleared of grass, rocks and any debris that might interfere with its pour. Furthermore, dampening the soil would ensure it makes an ideal foundation.
Once mixed, concrete must be quickly poured. If you’re building a home or other living space, enlist help in spreading it with shovels, rakes and “come alongs” (a specialized concrete rake).
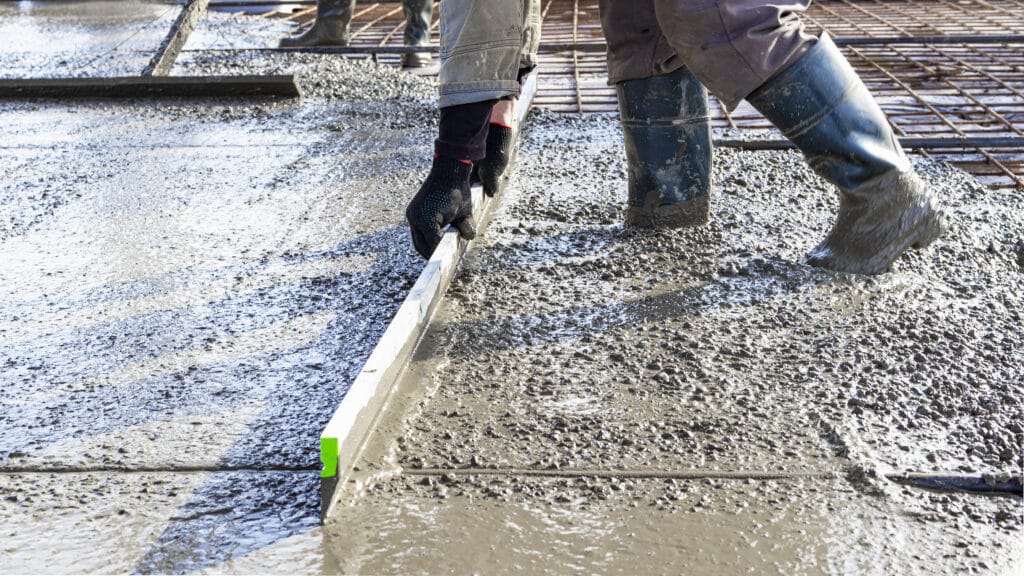
Once the concrete has set, it’s time to screed its surface. This process involves using a wide piece of lumber jiggling back and forth over it until a level surface has been created. A wide screed board that covers more area than just your concrete can help ensure all corners and door openings can be reached easily; additionally, one with an arched bow allows water to drain off easily.
Pouring
Planning a concrete slab project properly takes careful thought and planning. Speak with your local building department regarding local zoning laws and permit requirements; call “call before you dig” number for marking underground pipes and wires before beginning; and call “call before you dig” number before digging to arrange marking services before commencing excavation work.
Verify that the site is clear of debris and level. If the ground is not already compacted and hard, dig a trench for drainage purposes before packing it with crushed rock before placing your slab form in place.
When using a wooden frame, make use of release agents in order to make removal of concrete easier later on. Brace the frame properly by driving stakes at each corner before using a line level to check its squareness. Cut one long side form board to match the length of your new slab and nail it to two stakes before doing the same with short side form board.